A term Adsense almost every blogger is aware about it. Adsense is term for advertisement of text or contextual image to monetise a blog. In this post I will discuss about how to create a Adsense account to monetise your website or blog. Google Adsense is the best advertisement option to monetise blog or site. Many option to advertise and monetise a site like infolinks,native ads,affiliate marketing advertisement of brand and bidadvertiser etc. But adsense is the best in term of revenue.
In my blogging carrier start-up I really don’t aware about a term Adsense and monetisation of blog or site. When I signup for creating a new Adsense account really mean that a typical attempt and with sincere attention. On successful completion of Adsense approval in my 1st attempt inspire me to share my knowledge with my blog lovers who are new with Adsense and want to create an ccount with it. When you successful signup and approved from Google Adsense and got a congratulation mail on your mail id. You will able to display ads on your website and blog when a user click on ads you will be paid by Google for clicks.
Adsense have few term and condition and a user must read before applying it. A user applying for Adsense must have an age of 18. For India a blog or site must have old than 6 months are applicable for Adsense apply.
Note: Before applying for Adsense an applicant must read out the term and condition because its rule are typical and lengthy .So don’t miss to do so.
The steps of Adsense signup are as follows
1) Click on Signup Now button and fill the form.
2) After signup you can display ads on blog
3) You Adsense account will be reviewed by team for approval or rejection .After review you will get a mail of success or failure of Adsense approval by Goole Adsense Team.
4) On successful approval you will get a congratulation mail and after few hours your add channel display live advertise.
5) On disproval, you can retry for it.
Let us see in details with particular steps .
I) Go to signup page of Adsense and click on signup button to apply. You will get option of login with existing account or create new account. If you are applying for website I will recommend you to prefer domain specific email like name@domain.com as I have used so. You can also you use your existing Gmail id for it.
II) Website details:
Just fill the website details eg. Enter the URL of your website and select language. Click on continue button.

III) Contact Information
Fill all contact details as shown in below in the image but keeping in mind that enter the payee name same as in your bank account. Because changing a payee name in some country is so difficult. So please read the term & policies before fill out the form. You must have same name in your bank account and payee name in Google Adsense.

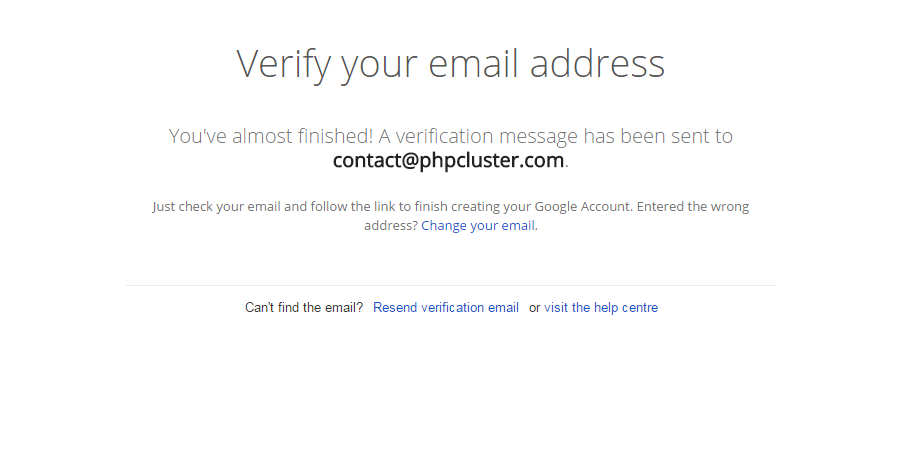
After this process your application is submitted to Goole adsense team for approval .You have to verify email address.As you see on successful page message.

You will get email on your email id about Adsense approval status.
When you get a congratulation mail after that you have to go through two steps to be paid from Adsense.
• Fill the tax information.
• Enter PIN which you get on verification address through
That’s all. Enjoy Blogging and Adsense .